AirTent 60 Lite / Coody 5.8 Setup Guide

Overview
The Oliezi AirTent 60 Lite / Coody 5.8 is a versatile outdoor shelter suitable for camping trips or beach days. Made from durable 150D Oxford fabric, it provides reliable protection in various settings. It is quick to set up, spacious (fits up to 3 people comfortably), and an ideal choice for families looking for a dependable shelter for all outdoor occasions.
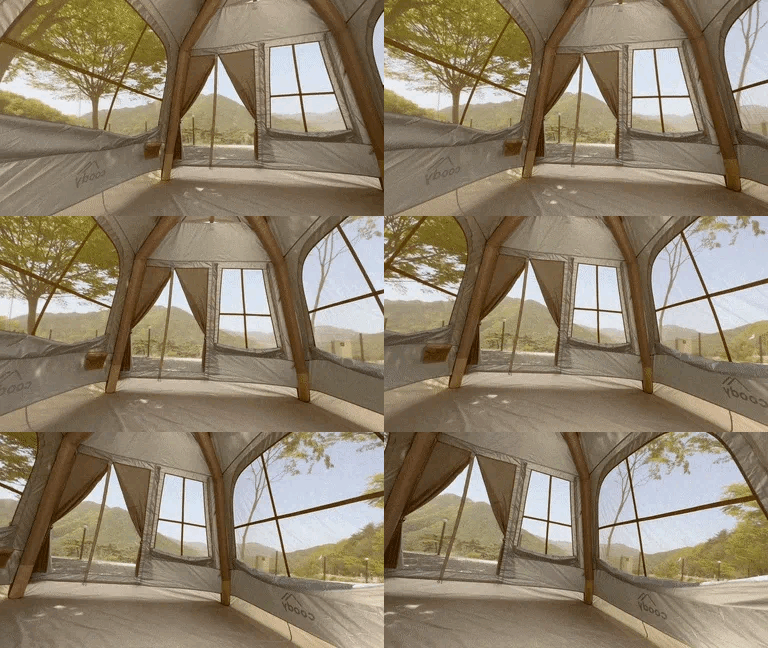
Oxford Fabric: what is it?
The AirTent Lite Series is made out of Oxford Fabric, a material known for its lightweight yet durable qualities. While this fabric offers excellent features, it doesn't provide the same level of insulation and breathability found in the TC (terylene cotton) Cotton Fabric of our standard AirTents, which are ideal for 4-season camping.
The Lite Series is tailored as 3-season tents, catering to campers who seek lighter options without the need for the enhanced insulation of 4-season models.

How does it compare with other AirTents?
The Oliezi AirTent 60 Lite / Coody 5.8 is a versatile outdoor shelter suitable for camping trips or beach days. It fits up to three people comfortably. The AirTent 60 is considered a 3-season tent, and may not be ideal for winter camping. It also does not have any lines or jacks for electricity, AC, and stoves. Simply put, the AirTent 60 is made for those beginners who want to try out cozy camping and are looking for their first glamping tent.
What comes in the package?
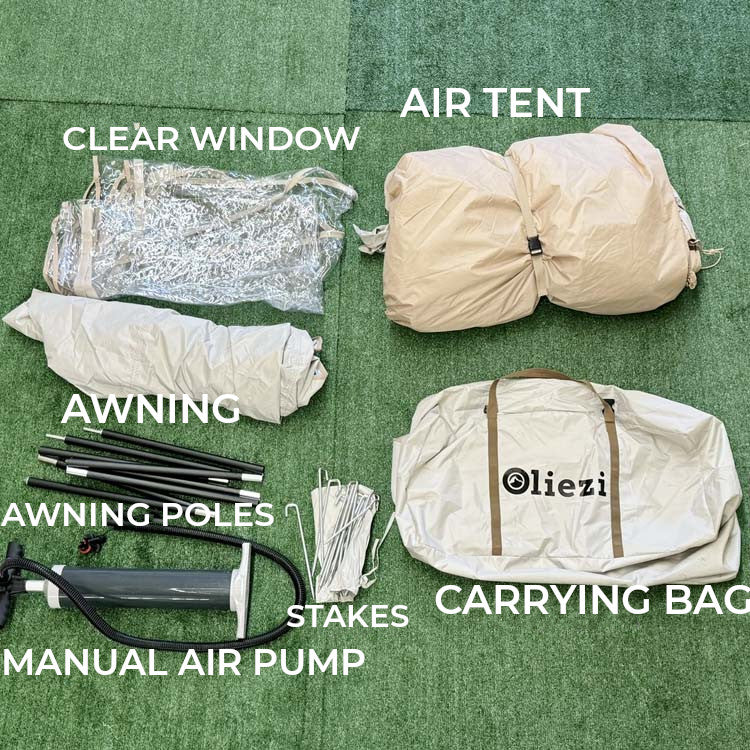
The AirTent 60 Lite already comes with all the things you need to set up the tent conveniently. Below is a list of what’s included in the package:
- Air Tent - 150D Oxford Fabric
- Removable Front - 150D Oxford Fabric
- Removable Front - TPU Clear Window
- Attachable Awning - 420D Oxford Fabric
- Manual Air Pump
- 2x Aluminum Awning Poles
- 12x Stainless Steel Stakes
- Carrying Bag
How do I set it up?
The AirTent 60 Lite is an easy tent to set up, even for beginners who are just trying out camping. Watch our video below to see how it works:

Step 1: Prepare your area
We suggest looking for a flat, dry area. Ideally, the ground should be soft enough that you can easily hammer your stakes in.
To provide more protection, and to make sure that water will not seep in if it rains, we highly suggest that you place a ground sheet under the tent before you set your tent up. Oliezi Outdoors offers footprints for your tent here.
Once you’ve set up your ground sheet, drape your tent over it and start securing it with the included stainless steel stakes.
Step 2: Inflate your tent.
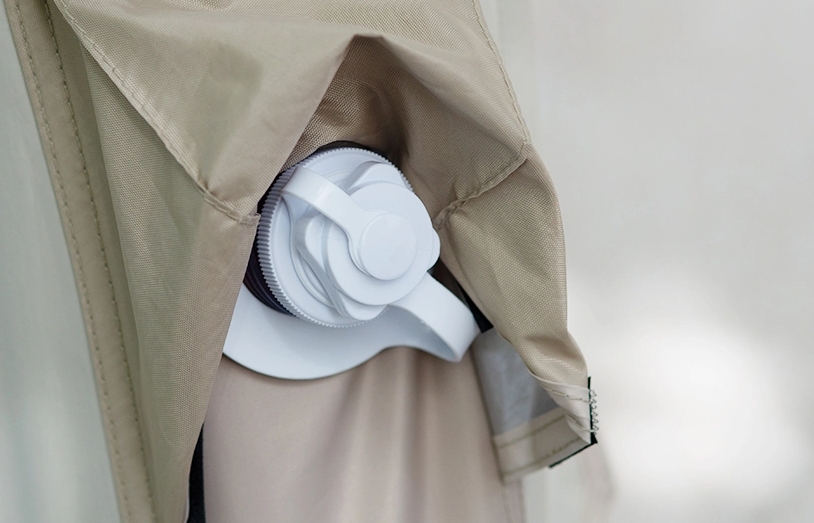
Look for the intake valve.
This is where you’ll insert your pump’s nozzle. This is located at the front corner of your tent’s door.
Use the right nozzle.
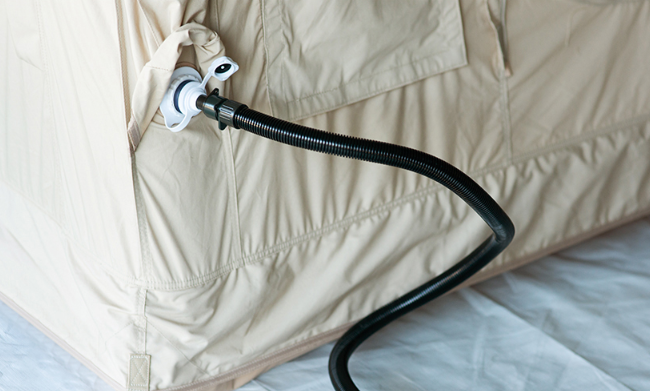
Your manual air pump has multiple nozzles that you can use for inflating different camping equipment like airbeds, tents, pillows, etc. For the AirTent 60, use the nozzle that fits the air intake valve (i.e., 3.6cm in diameter). Make sure that it is snugly fit!

Time to inflate.
Using the manual air pump included in the package, inflating the tent will only take you 60 pumps -- less than 5 minutes.
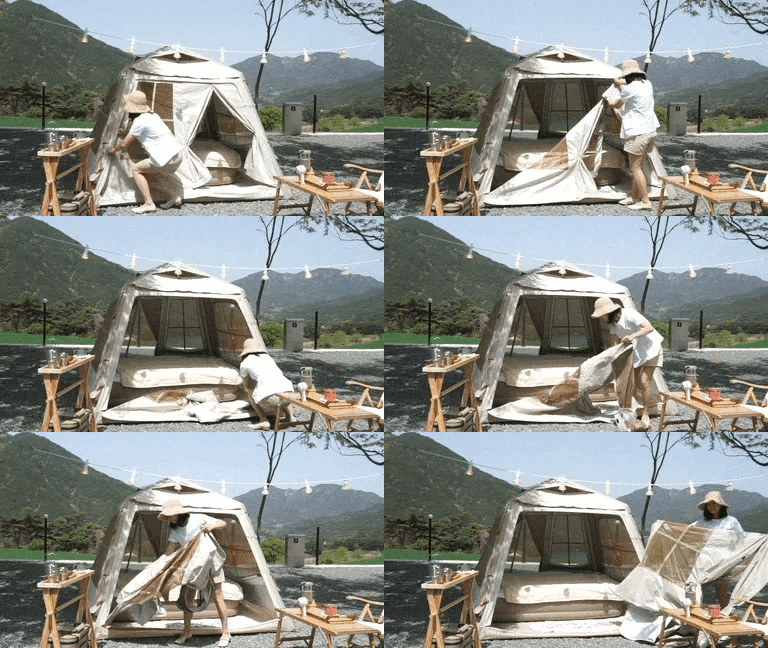
Step 3: Setup your doors and windows.
You can customize how you want your tent to look. Both doors are detachable and, depending on the temperature of your environment, you can swap the windows with either the TPU clear windows for colder weather or the Oxford Fabric when it’s hotter.
Need more space? The AirTent’s door is also detachable. You can remove it by unzipping it from the main tent.

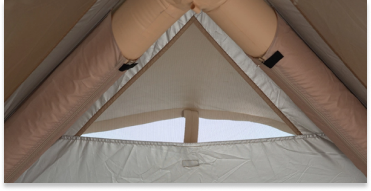
Tip: is it hot outside? Let the air in.
Open up your mesh windows. If you want a bit more privacy, you can easily zip it up with the Oxford fabric cover. There are also flaps on the roof of your airtent that you can open up to give you better ventilation.

Step 4: Install the tent awning.
The AirTent 60 comes with an awning. You don’t have to set this up, but we highly recommend that you do so you’ll have space and shade from the weather.
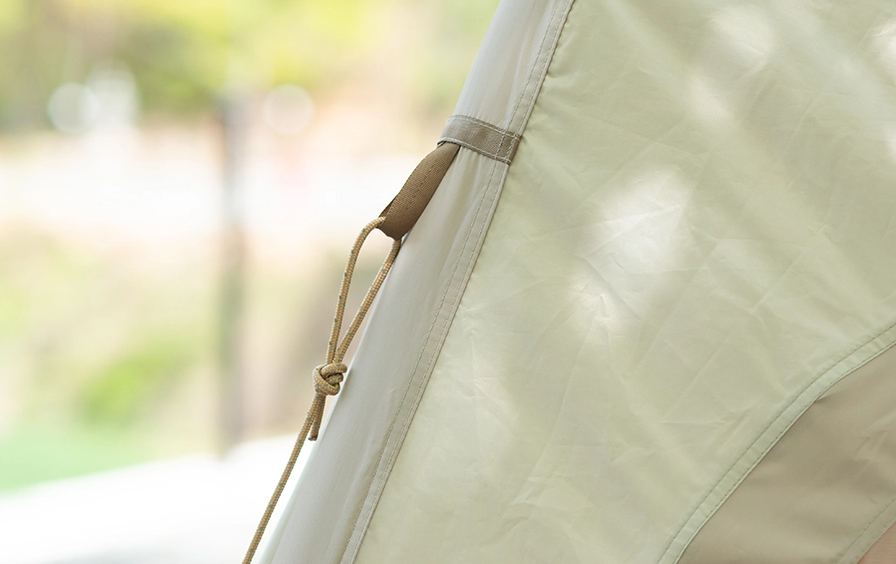
Step 5: Secure the tent with guylines.
Should it be a bit windy, you can also secure your tent by using the guylines and tying it up with the additional stakes provided in the package.

Care & Maintenance
All of our tents are made from durable fabric. However, proper maintenance will help maintain its durability. That said, after camping, make sure to spray some mild soapy water on your tent and wipe it with a clean, soft sponge. Let it air dry, disassemble, and then place it back in its storage container.
Have More Questions? Send us an email!
Browse Other Categories
-
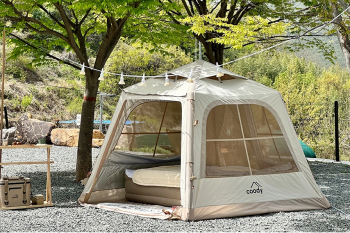
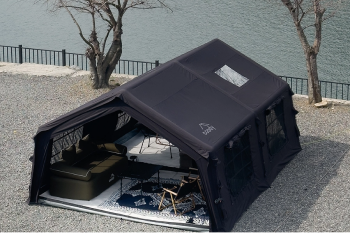
Coody AirTent Lite Series
Learn MoreSetup guides and more information about the Oliezi / Coody AirTent Lite Series.
-
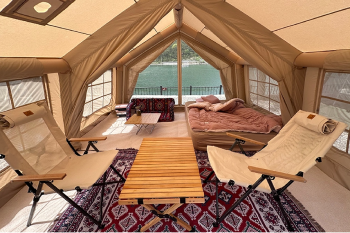
Coody AirTent Series
Learn MoreGuides and information about the Oliezi / Coody 5.3, 13.6, Familia and more.
-

-
-
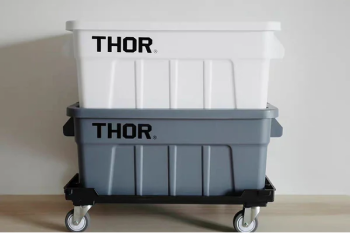
THOR Storage & Accessories
Learn MoreProduct information and guides for various THOR boxes and accessories.
-
General Questions
Learn MoreQuestions on payment, delivery, returns and anything concerning shopping.


