
The Iron Korea THOR Lift Up X Setup Guide
What's Included
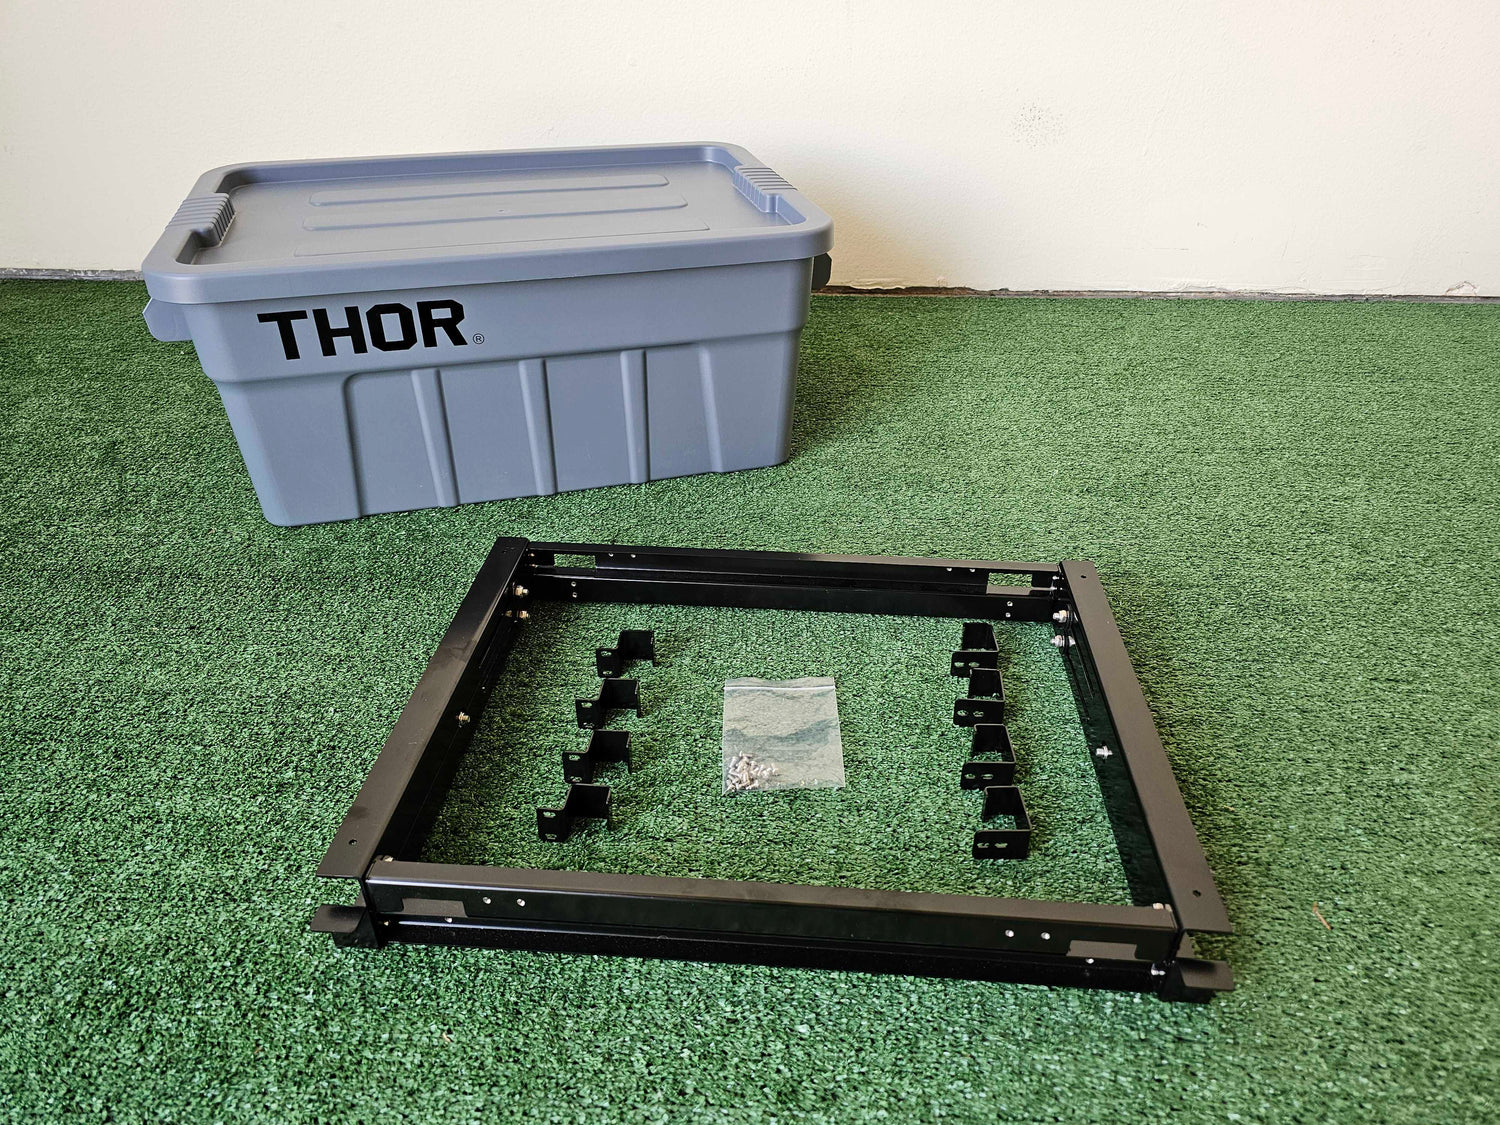
Every Lift Up X Kit* comes with the following items:
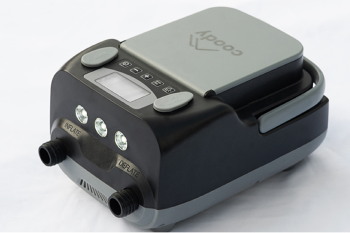
- 1x Lift Up X Main Body
- 4x Top Bracket
- 4x Bottom Bracket
- 18x Screws
Additionally, you'll also need a Phillips Head Screwdriver to install the kit to your THOR storage box (not included).

Step 1: Install the main body.
Remove the lid for the THOR box and set the Lift Up X inside with the pre-installed brackets at the bottom.
Step 2: Lift the top up.
Carefully lift the top of the Lift Up X and secure it in the upright position.
Step 3: Place the bottom brackets.
Set the Bottom Brackets in place by hooking them around the lip of the box and around the bottom frame, and then slide to line up the bracket mounting holes with the threaded holes on the bottom frame (for all four bottom brackets).
Step 4: Secure the bottom brackets.
Secure all four bottom brackets with supplied screws.
Step 5: Place lid back in.
Set the lid of the THOR storage box on top of the Lift Up X.
Step 6: Place top brackets.
Set the top brackets in place (one at a time) by hooking them around the top of the lid, lining up the bracket mounting holes with the threaded holes on the top frame. Partially secure each bracket with supplied screws before moving to the next. (All screws in place, but a little wiggle room for later adjustment).
Step 7: Secure top brackets.
Once all four top brackets are partially secured, ensure the lid is lined up correctly with the box, then tighten all screws for the top brackets.
Step 8: Done!
Enjoy your new Lift Up X!
Caution:
Have More Questions? Send us an email!
Browse Other Categories
-
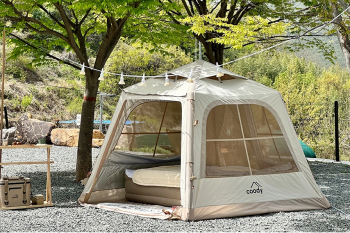
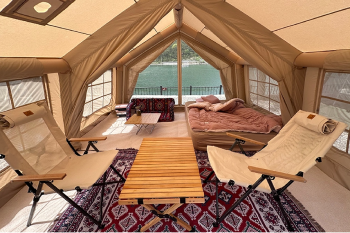
Coody AirTent Lite Series
Learn MoreSetup guides and more information about the Oliezi / Coody AirTent Lite Series.
-
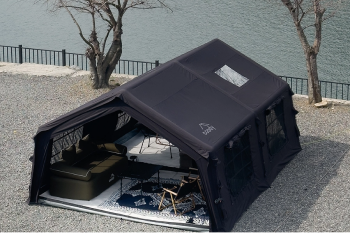
Coody AirTent Series
Learn MoreGuides and information about the Oliezi / Coody 5.3, 13.6, Familia and more.
-
-
-
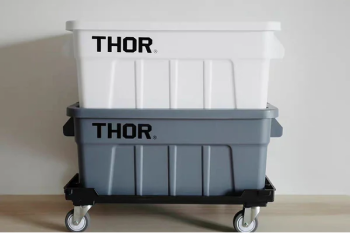
THOR Storage & Accessories
Learn MoreProduct information and guides for various THOR boxes and accessories.
-
General Questions
Learn MoreQuestions on payment, delivery, returns and anything concerning shopping.


